The Microsoft Network Policy Server (NPS) is the Microsoft RADIUS server. It also provides additional services like Network Access Protection (NAP) and quarantine.
This integration guide will lead you step by step through the process of configuring NPS to work with privacyIDEA.
Network overview
Your setup might look like this or be a bit different. We assume, that you already have a NPS server installed. You may have some RADIUS clients like a firewall, VPN, switch, router or client computers connected to your NPS server.
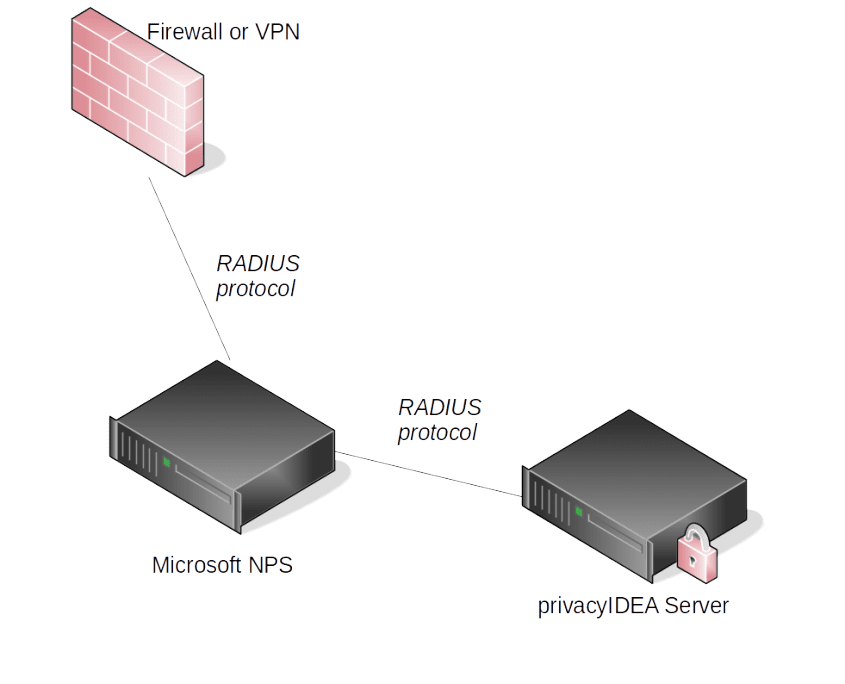
The RADIUS request is still sent to the Microsoft NPS. But then the RADIUS request is forwarded to privacyIDEA which verifies the one time password (OTP) and thus performs the two factor authentication.
Configure NPS for two factor authentication
Create privacyIDEA RADIUS client
On your privacyIDEA system you are also running the FreeRADIUS server with privacyIDEA. The NPS will forward the RADIUS request to the privacyIDEA server. Thus the NPS acts as a RADIUS client.
You need to add the client configuration to /etc/freeradius/clients.conf:
client NPSServer {
    secret = mySpecialNPSsecret
    ipaddr = 172.16.200.113
}
Change the IP address of your NPS server accordingly and make up a good new RADIUS secret. Restart the FreeRADIUS server.
service freeradius restart
Configure NPS
Create a new RADIUS server group
We assume, that you already performed the basic setup of the NPS server and that you already installed privacyIDEA. On your Windows 2012 server open the Network Policy Server configuration tool.
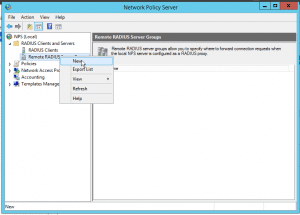
Under RADIUS clients and servers create a new Remote RADIUS server.
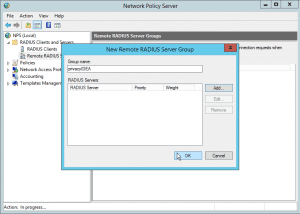
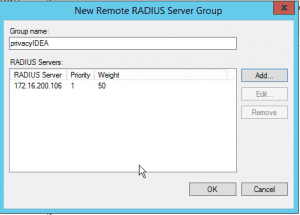
Create a new RADIUS server group and give it an identifying name, you remember. Like privacyIDEA.
Now you can add several RADIUS servers to this group. In this basic configuration we simply add the one RADIUS server of privacyIDEA. So click the button Add to add the privacyIDEA RADIUS server to this group.
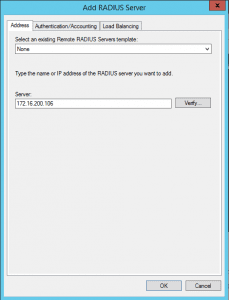
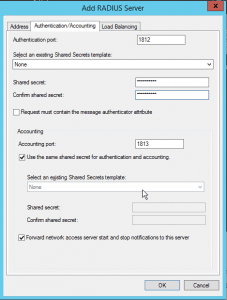
When adding the privacyIDEA RADIUS server to the server group you need to specify the IP address and the RADIUS shared secret. On the first tab give the IP address and on the second tab you need to set the RADIUS secret (e.g. mySpecialNPSsecret).
Click OK, to add the server to the server group.
If you are running more than one privacyIDEA server you can repeat this step for all of your privacyIDEA servers.
Now you have one privacyIDEA server in your server group.
Create a new policy
Policies define how the NPS reacts to authentication requests. You need to define a policy, that tells the NPS server which RADIUS requests should be forwarded to the privacyIDEA server group.
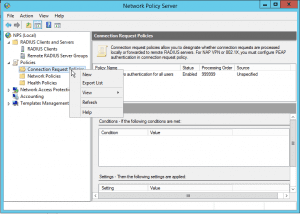
Go to Policies and on Connection Request Policies right click and click New.
The policy needs a nice name, so that you can identify it in the list.
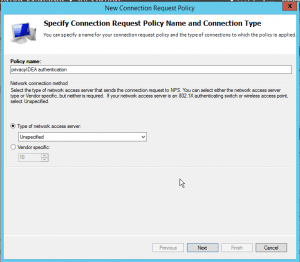
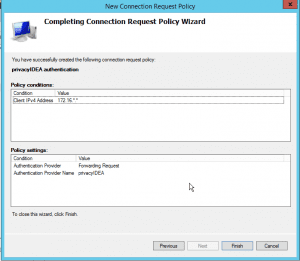
You can add as many conditions as you wish to. If these conditions are met, the policy will trigger. So in this basic example we just create a condition matching Client IPv4 Address in our subnet.
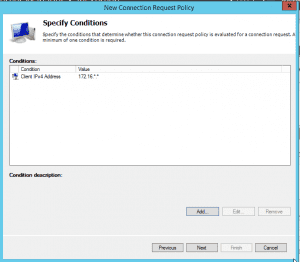
In the Authentication section we check Forward Request to the following RADIUS server group and select our group “privacyIDEA”.
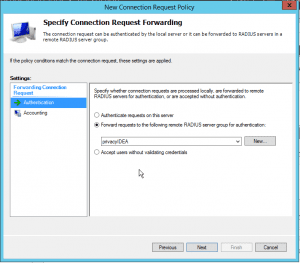
You may add additional attributes to the request. But in our basic example, we can leave this untouched.
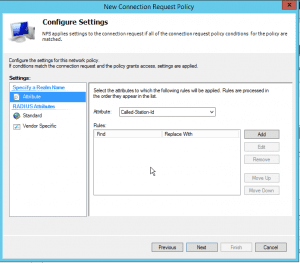
The basic policy for forwarding two factor authentication requests to the privacyIDEA system is done. You may click the button Finish which takes you back to the overview.
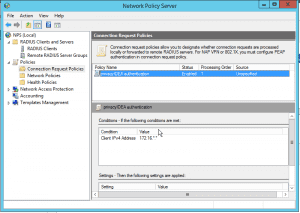
You may define several policies in the list, reorder and enable and disable these policies. In our basic example we are just using the single policy, that forwards the requests to privacyIDEA.
Conclusion
Configuring the NPS to forward two factor authentication requests to privacyIDEA is easy. Using more specialized functions of NPS like more conditions and more sophisticated policies you can combine the best from two wolds. Using NPS for your Windows Network access and privacyIDEA for a flexible centralized two factor authentication and management system.
Contact us for planning your network setup or get your service level agreement for privacyIDEA today.

